 I’ve been helping a friend out making some planets, now he needs lots so I had to develop a technique for making planets quickly in Gimp. In my previous solar system post I covered some basics around making a Solar system so hopefully this post will help flesh out the solar system a little more.
The below process makes heavy use of donjohn’s fractal world generator, I’m unsure what copyright the images it generates are under but for personal use you should be fairly right. The reason I use the fractal world generator is it generates a nice globe and a flat map projection in several variates and gives a nice working base to whip some planets up in Gimp. This doesn’t make beautifully photo realistic planets but it makes passable globes for use on a solar system overview images/maps and provides you with a matching world map you can take and work on later. Naturally to follow the below your going to need a copy of GIMP installed and probably this Script pack which I use heavily. I am by no means a GIMP expert so I’m sure there are other (better) ways of producing the below effects but hopefully it’ll get you started.
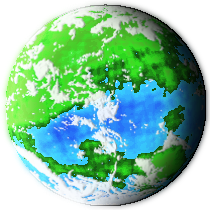
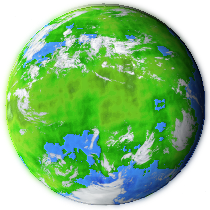
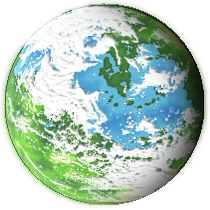
I’ll only cover one planetary type today – a Blue/Green earth type globe. If you really just want something to use in a hurry feel free to grab one of these. Usual rules apply – CC BY-NC-SA 3.0 and credit myself and donjohn in someway :).
 |
 |
 |
 |
 |
|
 |
 |
Making a Blue Green Earth type planet – XCF Demo File Here
Go to donjohn’s fractal world generator and generate a random world, make sure you check the resulting flat map (press create) before settling on a final globe and play around with rotation angle to get a nice view. Most importantly once you settle on a globe record all the settings this will let you recreate the same globe at a later date.
 I’ve found a flat map image height of 1000px works well
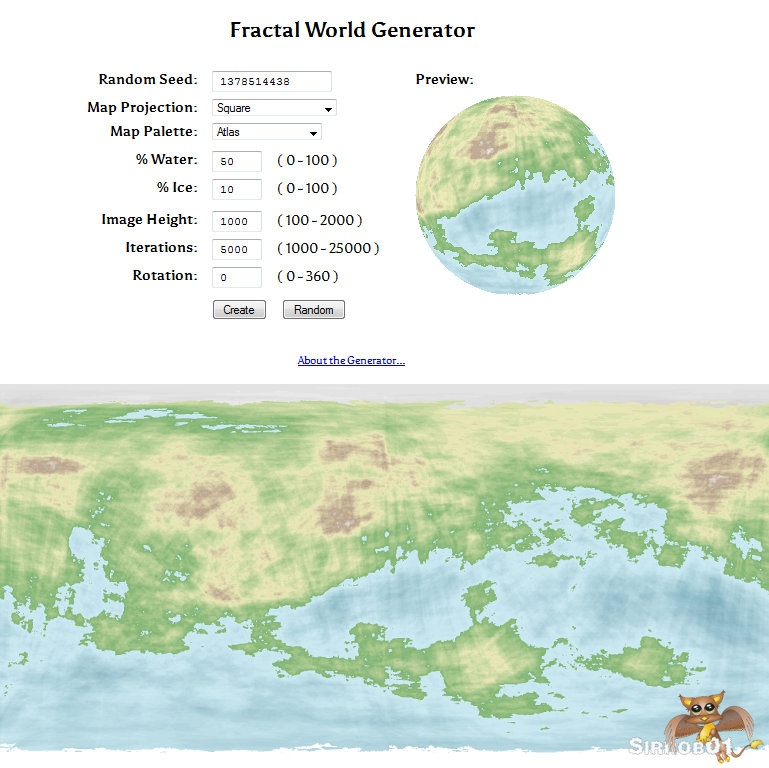
Set the Map palette to “Atlas” and right click and copy the globe image and the flat map Images into Gimp as separate “New Images”. (Note: if you right click save as and then open these in GIMP ensure you change the image mode to RGB)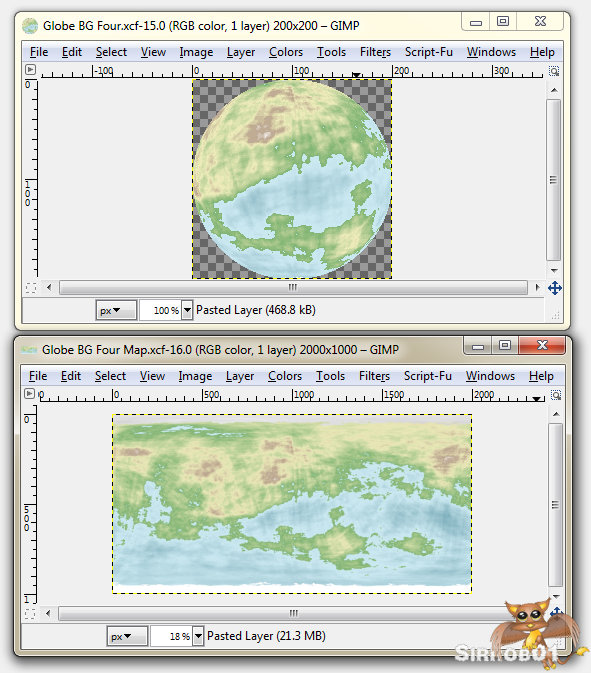
Then set the Map palette to “Mogensen” and copy/paste the new globe onto your globe Image in Gimp as a new layer and likewise with your map image:
Set the Mongesen layers on both images in Gimp to Layer Mode “Overlay”. Then right click on your Mongesen layer and select “New from Visible“: 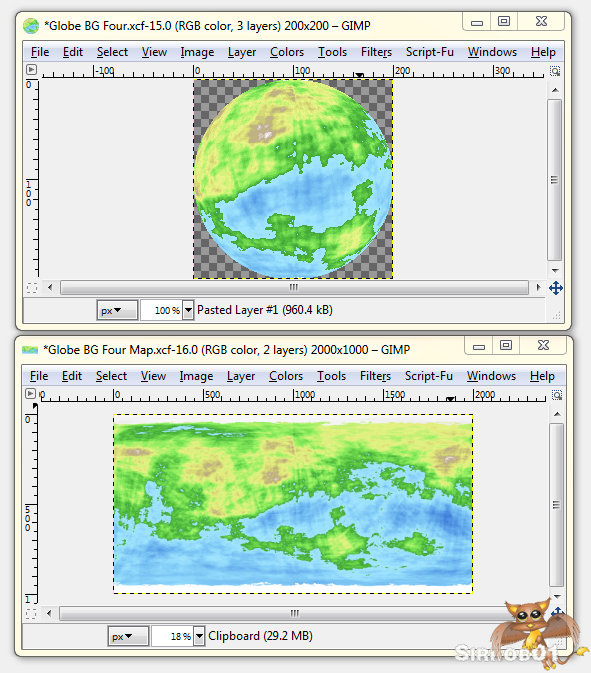
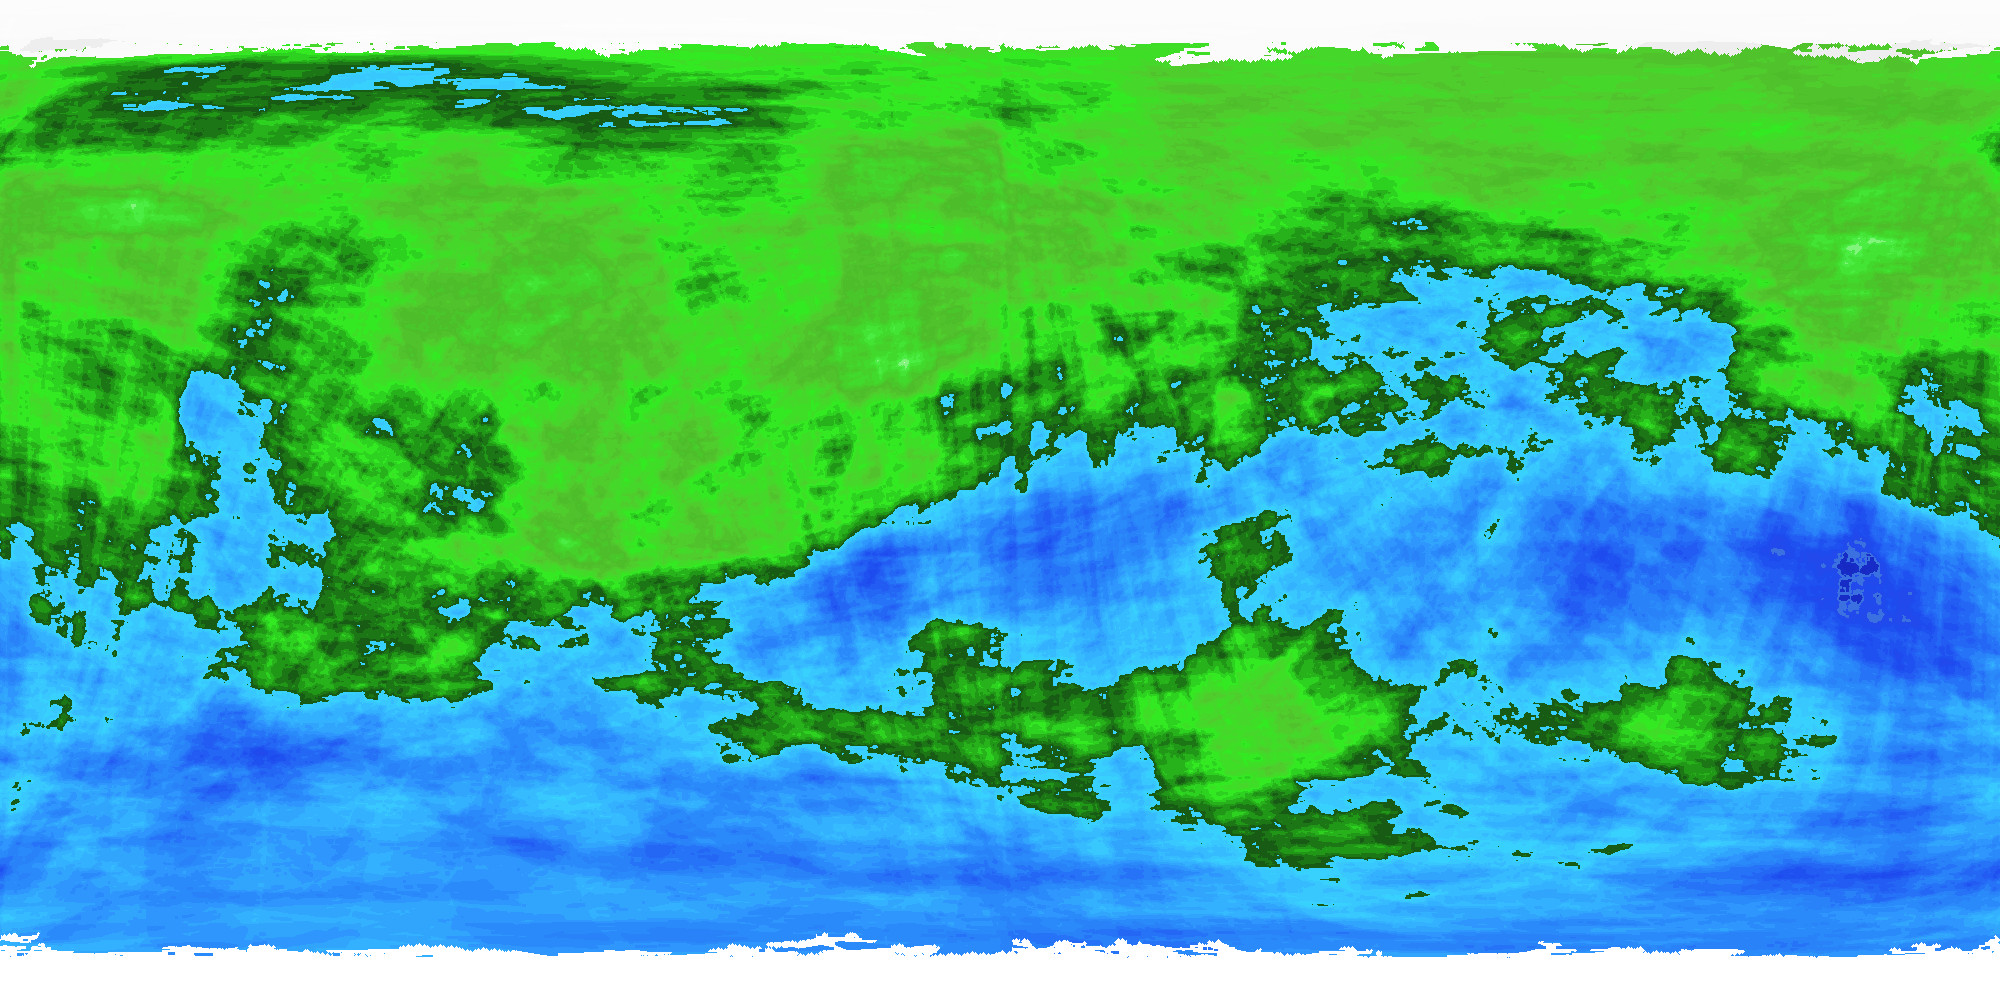
You can leave it there and jump down to adding clouds below. However you probably don’t want all your blue/green planets the same exact colour. So lets add some variety. First the ocean. Use the select by colour tool in addition mode (2 red squares) to select all the shades of blue (I set my threshold to 20 but the default of 15 works fine). Copy the Ocean from the Mongesen layer and then paste. Then do Layer to “New Layer”(this keeps the ocean aligned – do this on both images):
 Instant Deep Blue Oceans

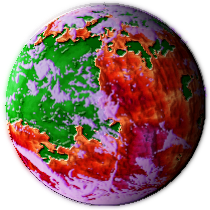
Play around with different Gimp settings to get different ocean colours, I kept mine in a Blue/green pallette. But red and purple are achievable: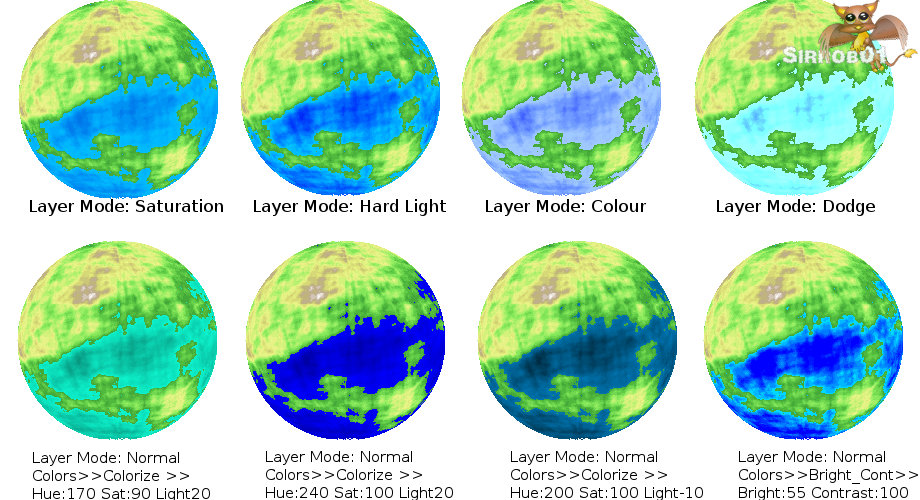
Play around with a mix of colouize and layer modes for even stranger effects.
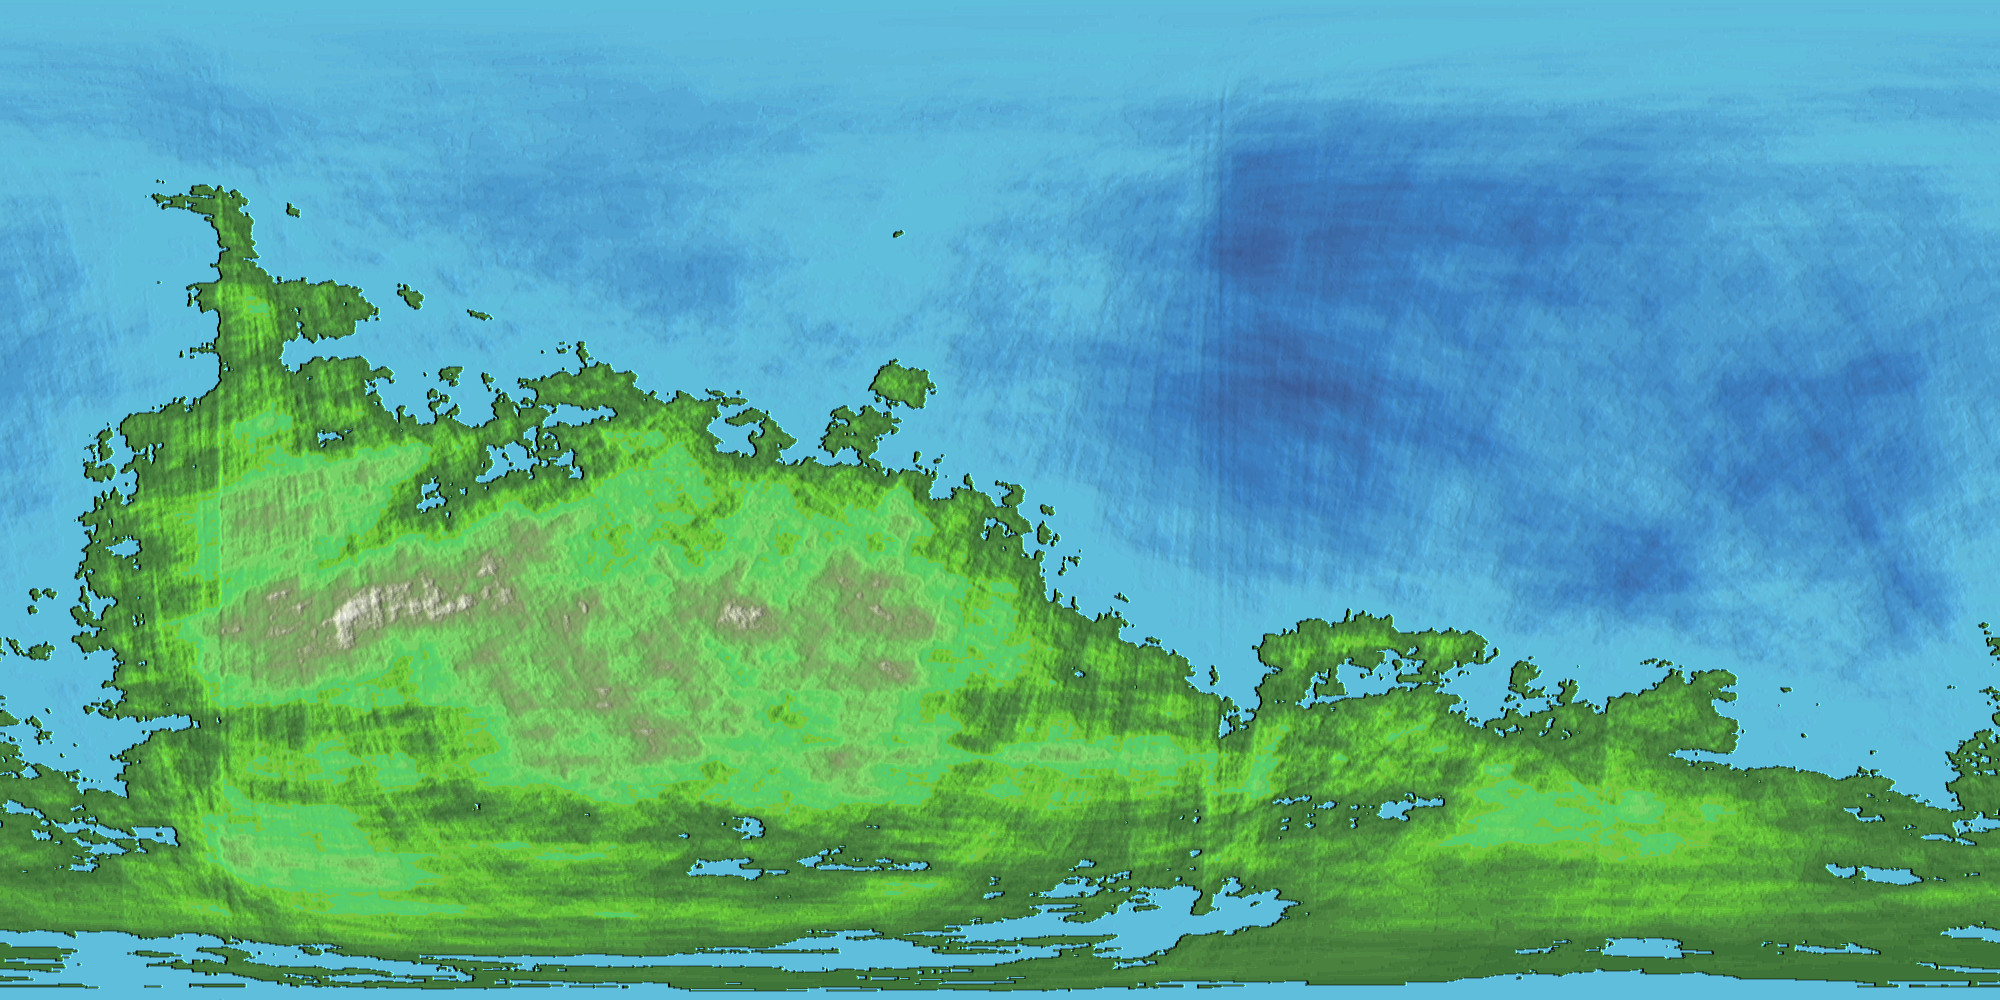
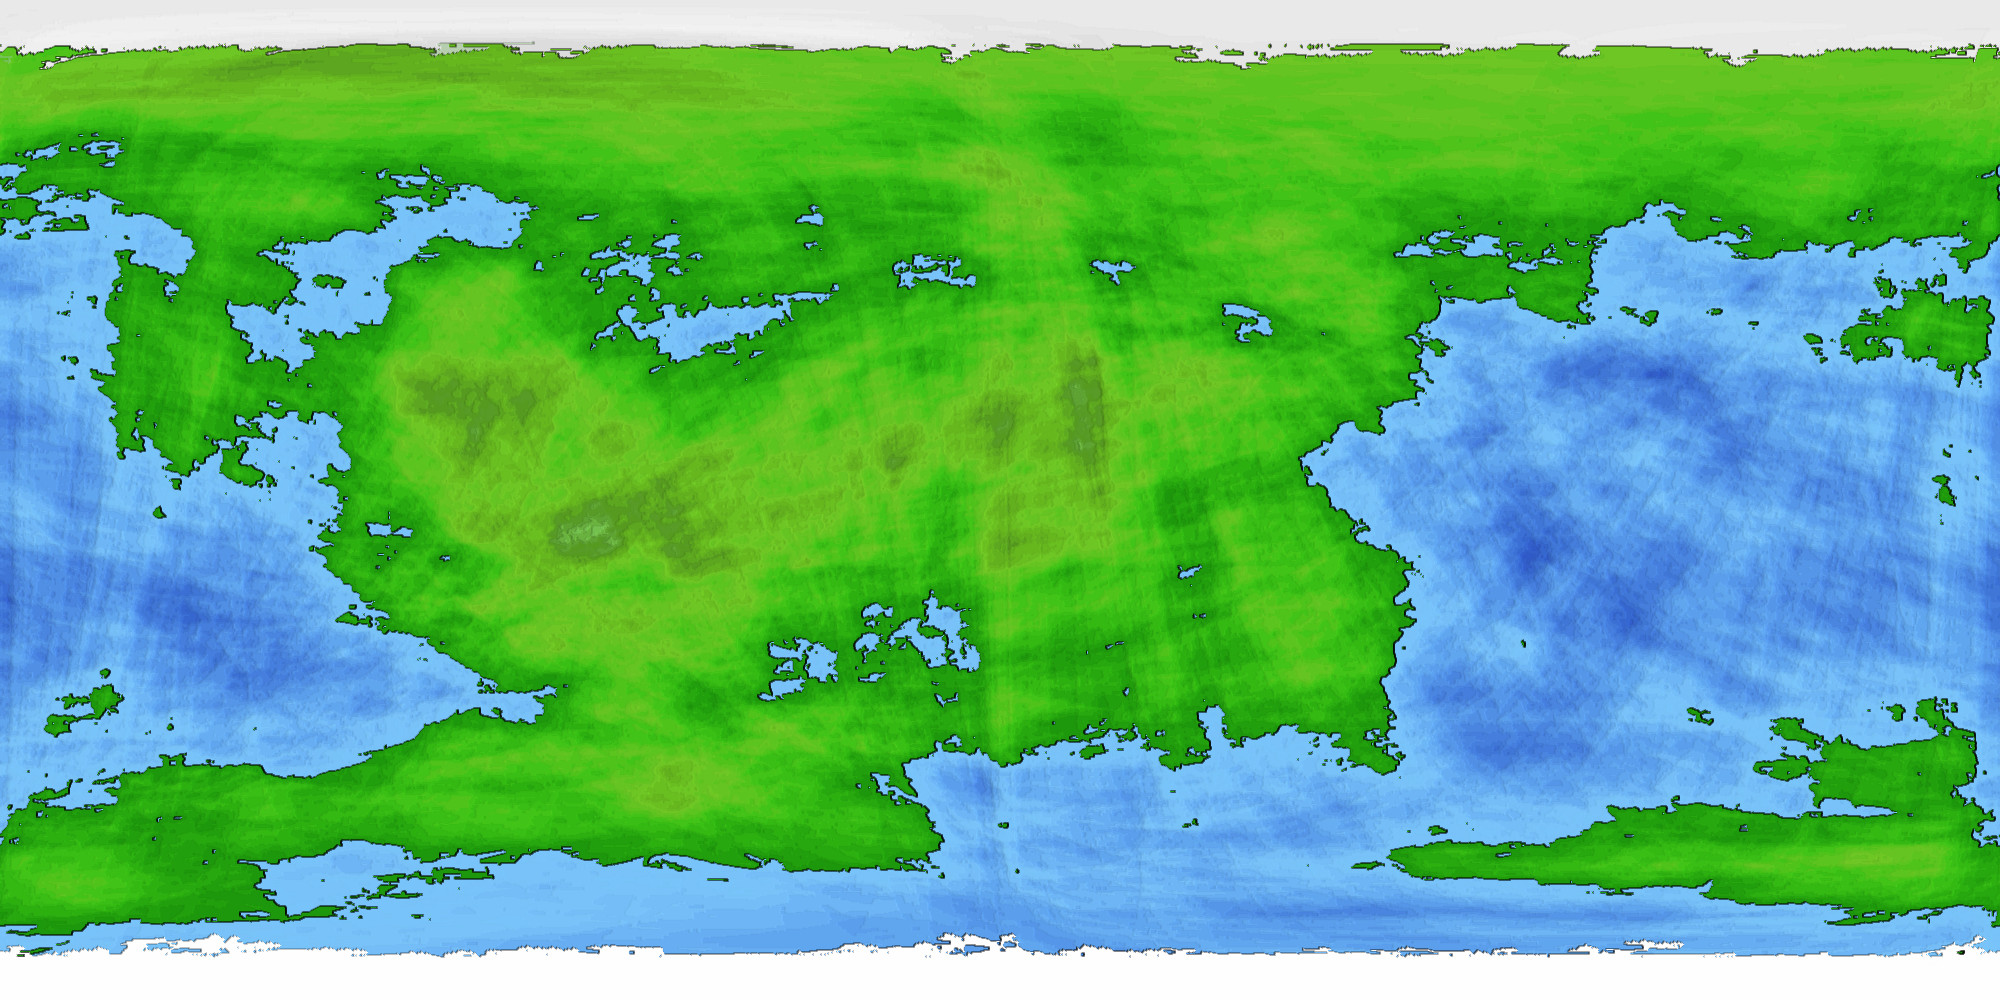
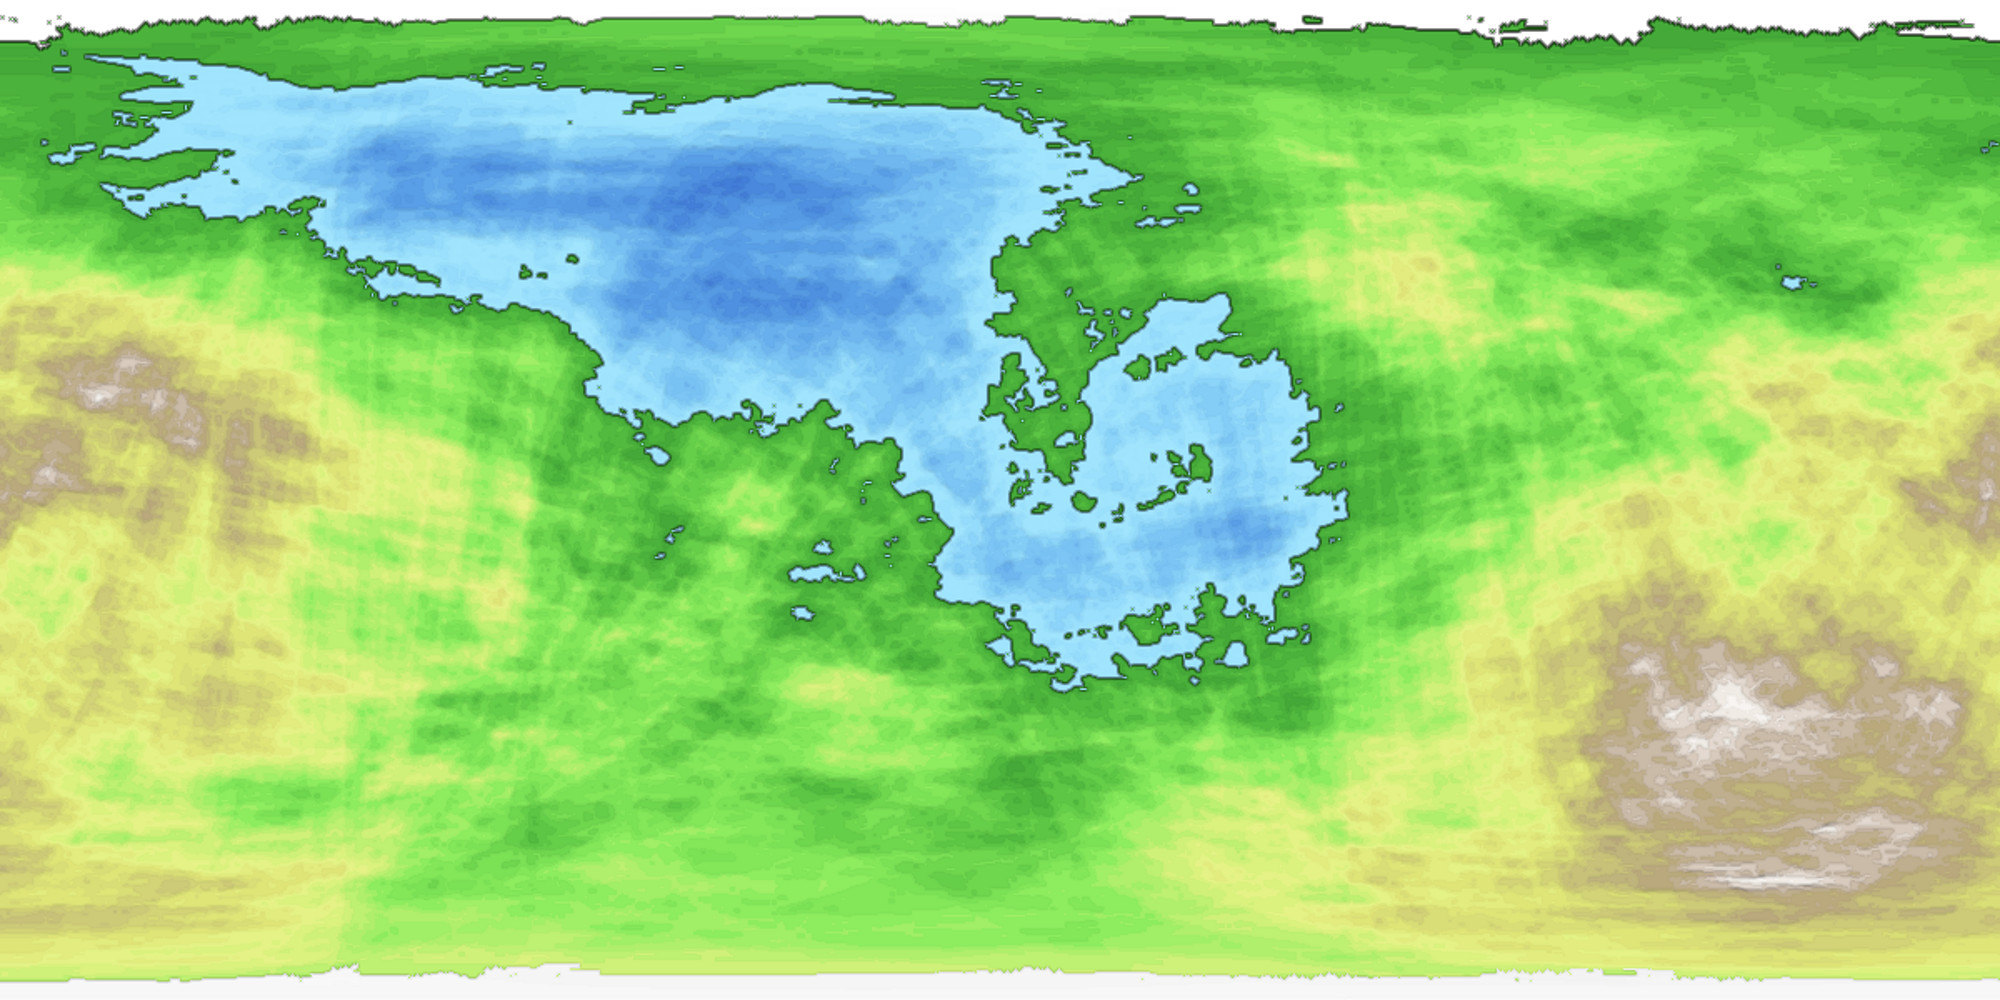
Next Lets get some variety into our land masses,Firstly on the ocean layer on both images trigger layer>>Image size. Then use the select by colour tool on your ocean only layer but select in the empty space. Basically you want to select the empty pixels as by default these are all land mass (well most of them). Then select your Mongesen layer and copy then paste. Then do Layer to “New Layer”(this keeps the land aligned – do this on both images):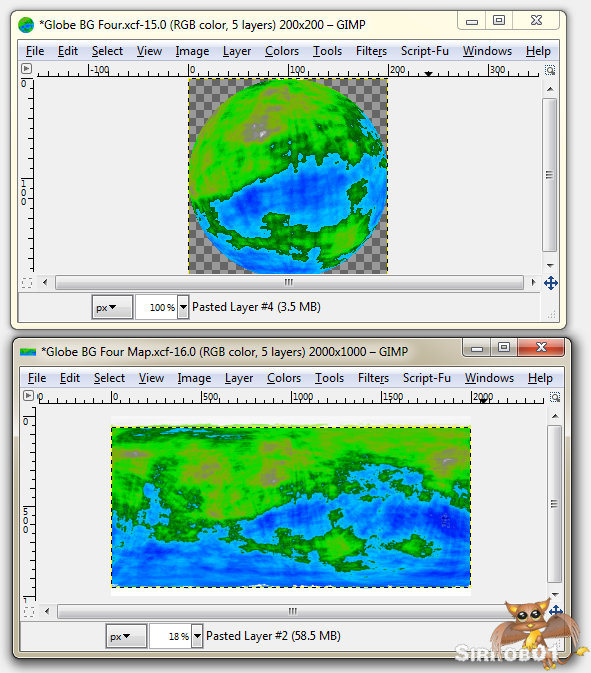
Once again play around with different Gimp settings to get different land colours, You’ll find Layer modes less useful this time but Colors>>Colorize , Colors>>Hue-Saturation and Colors>>Color Balance far more useful (Whatever you do, do the same on both Images – Map & Globe):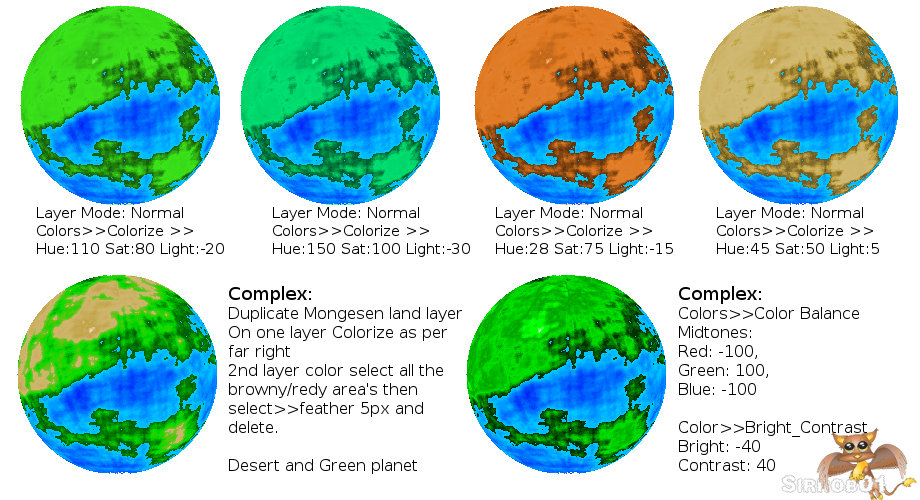
Hopefully now you have a base globe and a base map colored the way you want and looking pretty good: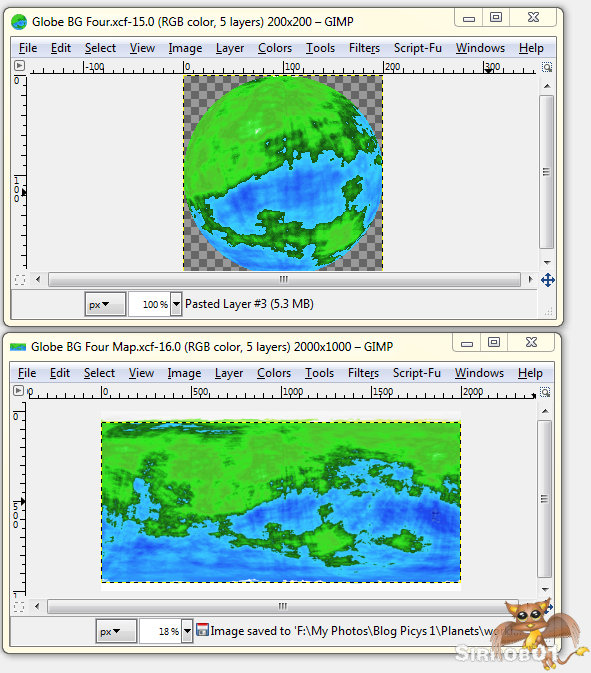
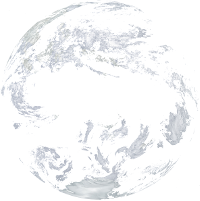
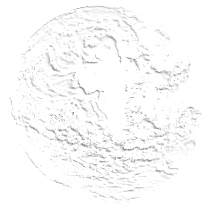
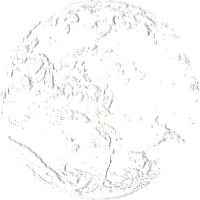
The base planetary map is finished at this point. However the globe needs some clouds and shadowing to make it look more ball like. Firstly some clouds on the globe image. Now the easiest thing I found to do was to search up some Earth images from NASA. Copy and Paste these into Gimp use the colour select tool to select and copy the clouds and paste those as a new layer onto your globe and scale them down. Now you can go do that yourself or simply save the png you like below and then follow the next step.
 |
 |
 |
Firstly adjust the canvas size of the globe image. Image>>Canvas Size and adjust this to 210x210px and center the image. Now File open as Layers and pick the cloud image you saved above. Set this layer mode as Normal and Opacity at about 90%:
Last few steps to go are to add some simple shadowing/highlighting. First add a new transparent layer to your globe image. Next select one of your original globe layers and first do layer to image size. Now grab the select by color tool and click in the empty space this will select all the empty pixels again. Next select>>Invert and select>>grow 1px. Click back onto your new layer and bucket fill this with solid black (#000000). The layer itself should be at the very top: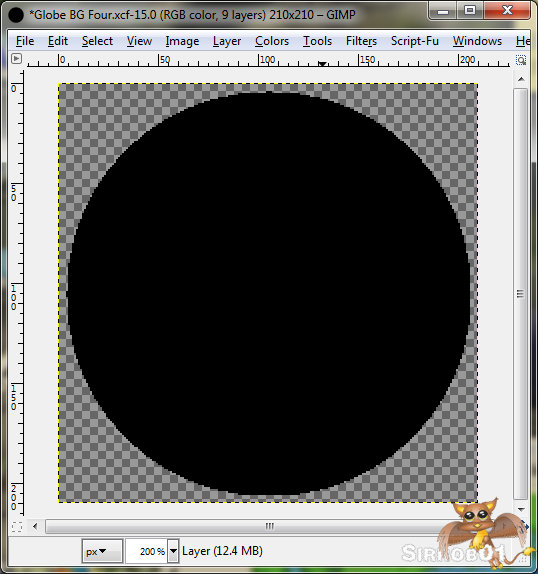
Now duplicate the black circle layer and color>>invert. Then layer>>scale layer to 220px X 220px. Lastly move the layer to the left until a small segment of the black circle underneath is visible: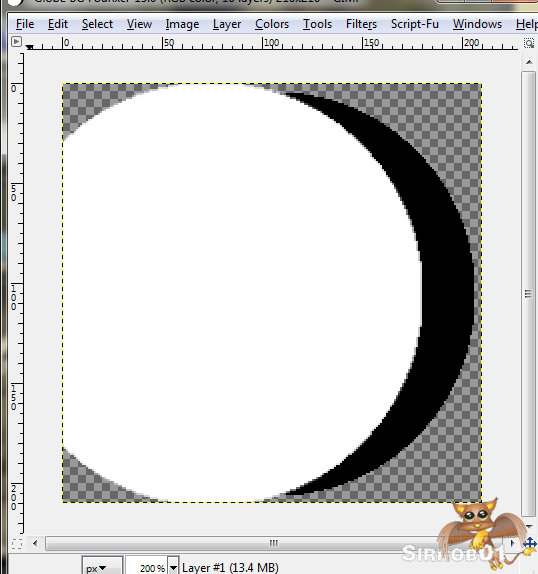
Use the magic wand tool to select the white circle, Select>>Feather 40px. Finally select your black circle layer and press the delete key on your keyboard. Select>>None and hide the white circle layer. Set the Opacity of your black segment to 85-90% (see what looks nice): 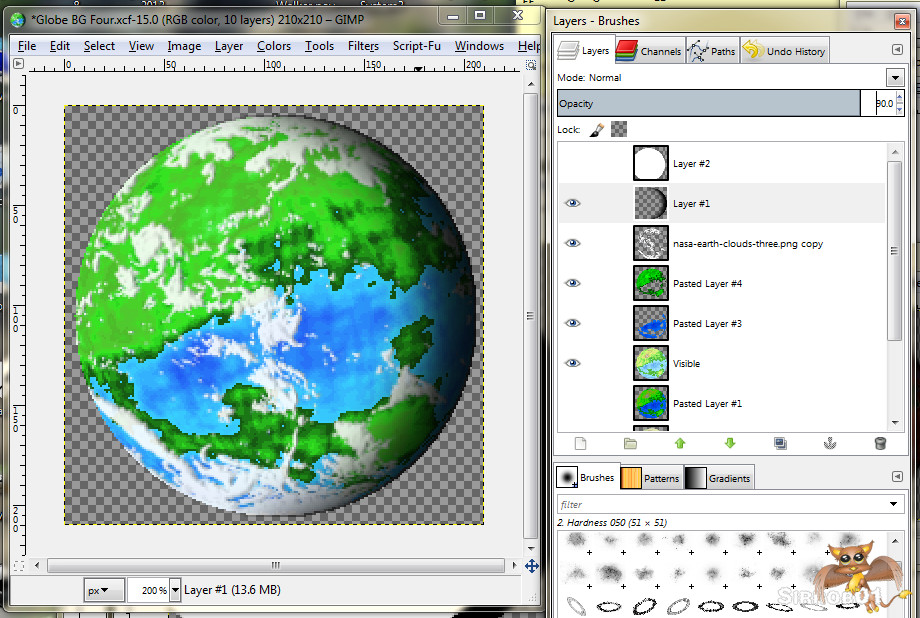
Almost done we just need to add a small highlight on the Sun-ward side, duplicate your black shadow crescent layer, Colors>>Invert , Layer>>Transform>>Flip Horizontally. Set opacity to 100% and Layer Mode to Overlay. Duplicate the layer and set Opacity to 50%: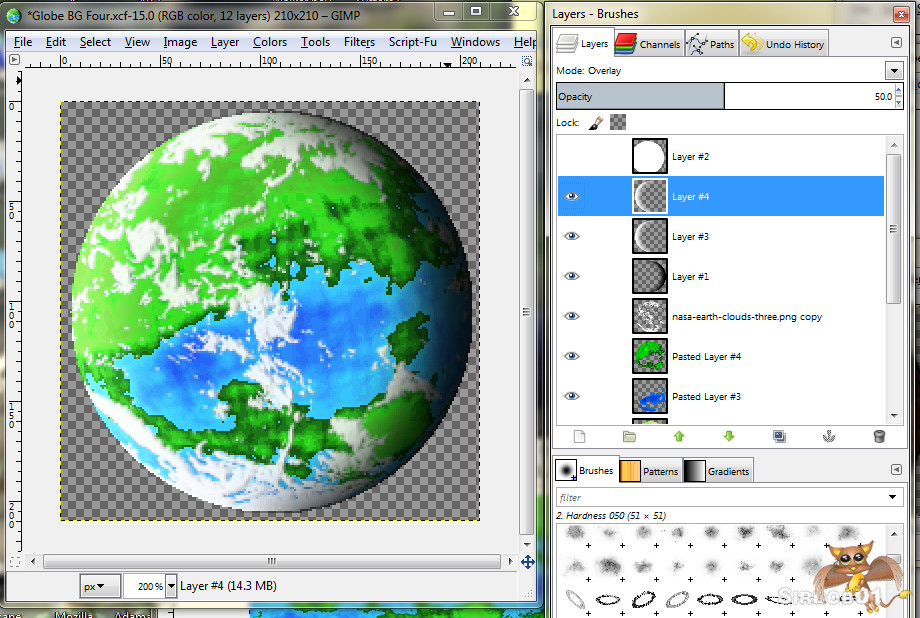
Last Step; Layer>>new from visible, then duplicate that new layer. Select the lower of the two new layers and Filters>>Blur>>Gaussian Blur 8px. This gives the planet that sort of hazy aura you see around planet pictures sometimes. Save your xcf fie as next time you make a planet you can re-use the shadows and highlights from this file – saving yourself time: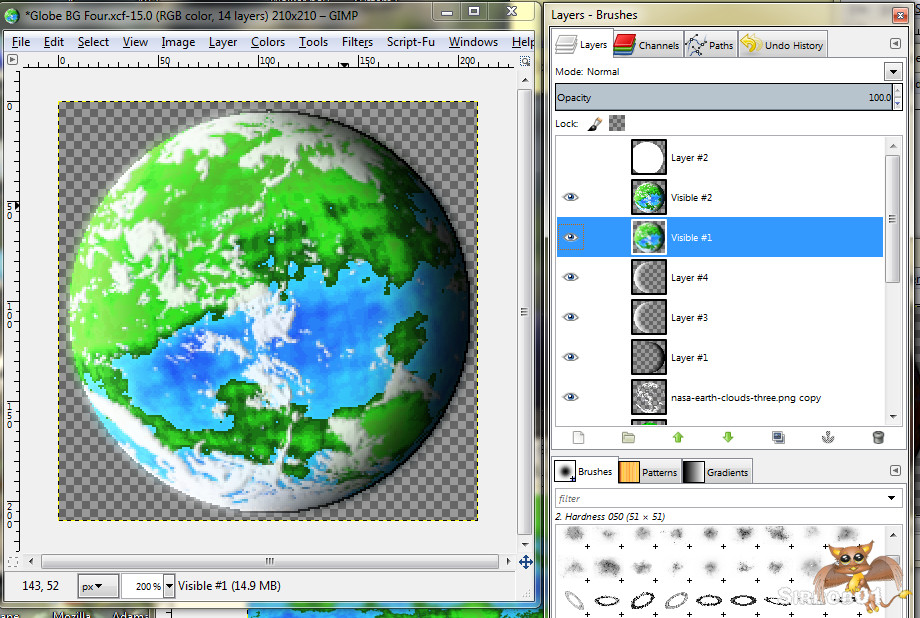
Export you planet as a gif/png and your map as a jpg and your done.
Now you are free to create as many earth like planets as you need for your fantasy Solar system(s). The above might seem like a complex process but once you get into a rhythm you can turn a planet out about every 10-15mins. I’ll cover some slightly different techniques next time such as giving the planetary surface a rough/textured look and alien colours for example:
Enjoy your Solar System building 🙂


