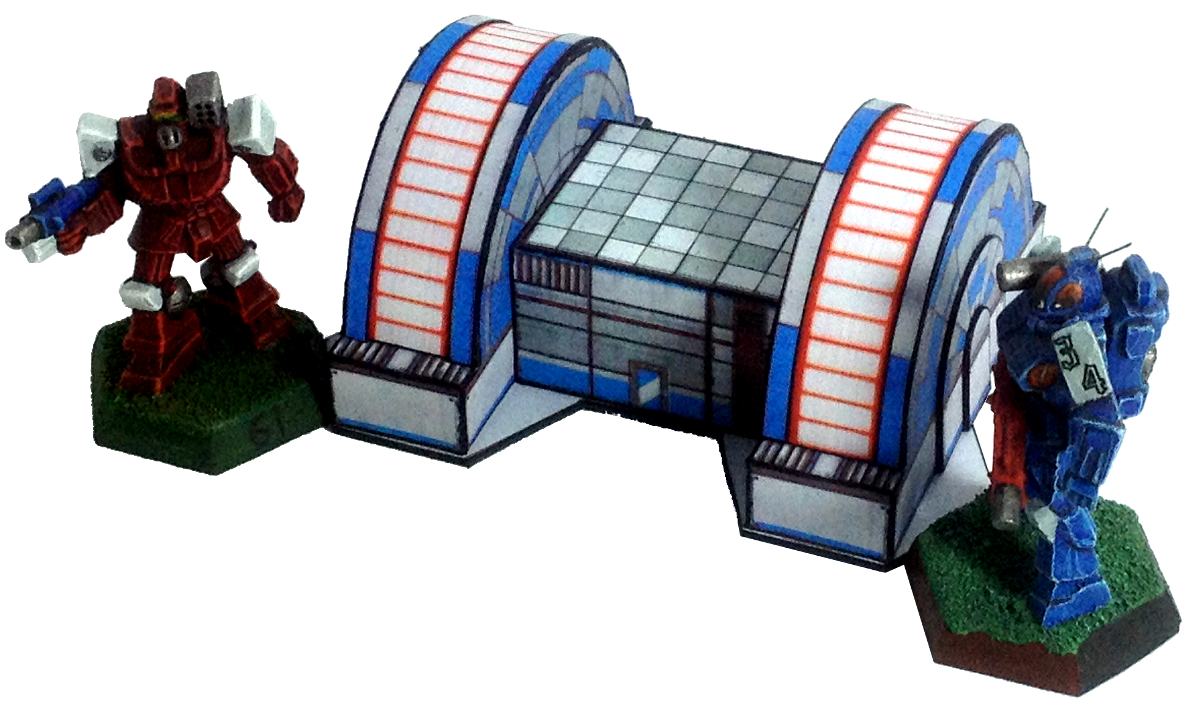
 Now that we have power on our Battletech map-board we need some roads so people can move around and start to build the city…maybe I’ve played a little to much Simcity in my time. Some simple asphalt road tiles to spread around your map board to give it more of a city feel. Later I may do some transition tiles for cross-country roads so they meld better with a green background.
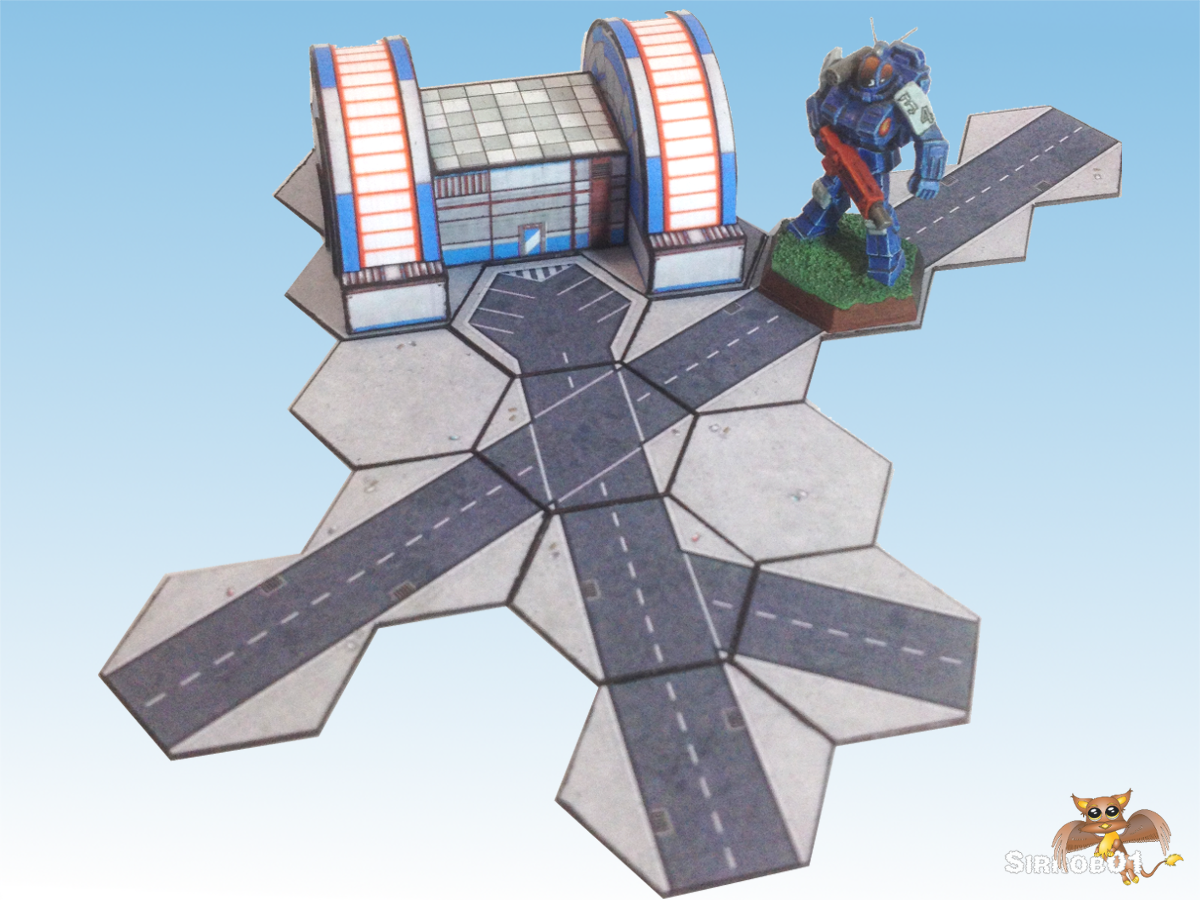
The road tile image I created myself using base textures, there’s not to much to a simple road tile, concrete, asphalt and some drop shadows and your pretty much done. I did throw on some drains and rubbish but at this scale you’ll need a magnify glass to see them. As Battletech runs in two very different scales, 1:300 for the miniatures and 1:900 for the ground scale I struggled a little with what to do. In the end I scaled the road widths to about 1:300 so two 1:300 cars can be placed on each road half and not look strange. The car-park tile I split the difference and just made the parking spots about 1:500 no particular reason other than it looked okay. Later I might do a proper drop in 1:300 scale car-park area in various hex sizes making the single tile redundant but it works for now.
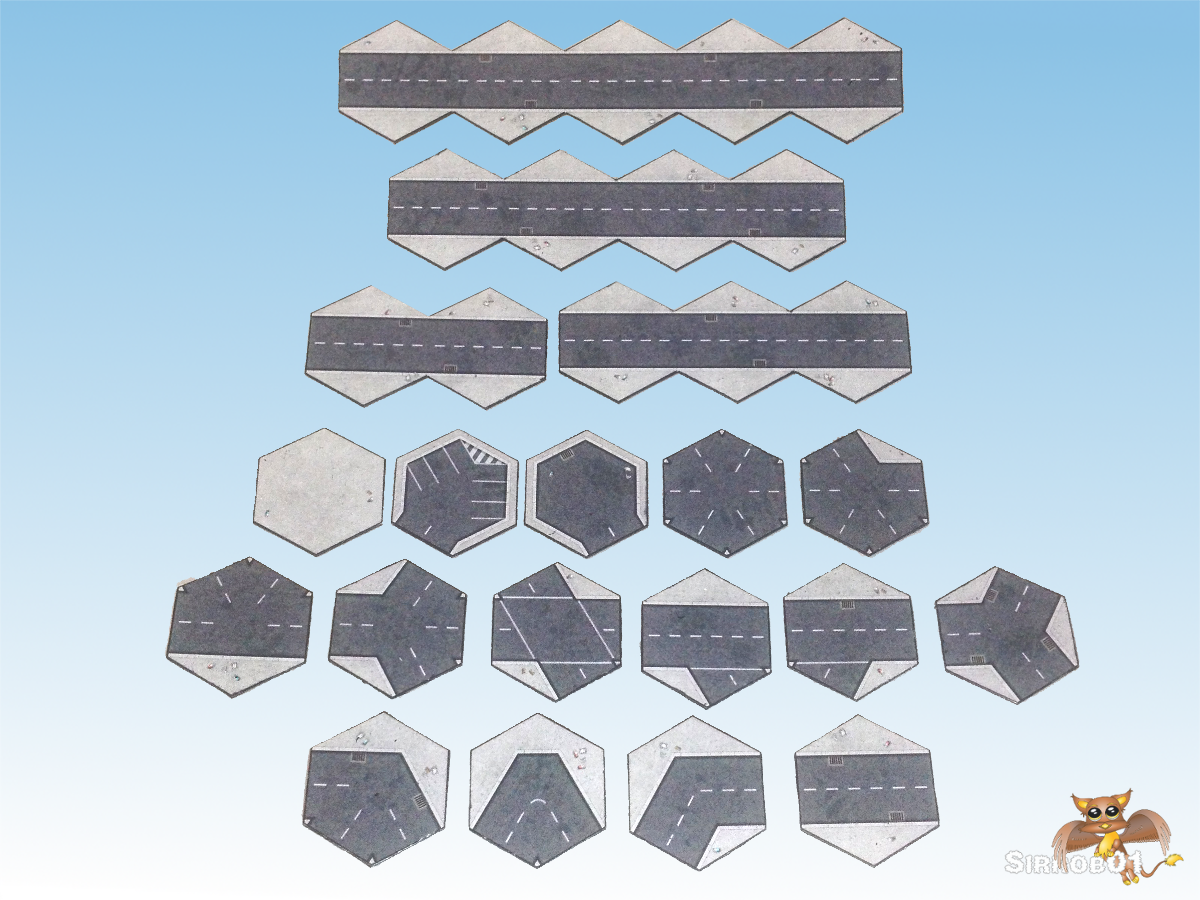
It would seem that hex size on the old Battletech maps and the new Battletech maps is different. Not by much 32mm vs 33mm. However that 1mm causes big problems when you string 10 road tiles together in a long straight suddenly your either half hex short or half hex to long. So the only solution I could see was to export a version at 32mm and a version at 33mm. If your using mostly new map-boards or the downloaded map sheets from RPGnow. It is safest to stick with the 33mm size, if you have a ton of old printed map sheets from the 80s/90s go with the 32mm sized tiles, If your not sure I’d run with the 33mm as that’s what the new stuff seems to be created in. I also created a 38mm/1.5inch version for those playing on a larger hex size. If someone has a need for some other odd size feel free to leave a comment and I’ll export a copy at that size (hex dimensions flat to flat in mm) – not promising it’ll have the layer options :). Due to this 32/33 discrepancy I’ll also need to upload a new base for the power plant in 33mm but I’ll do this when I get time to finish the page of plain concrete pieces.
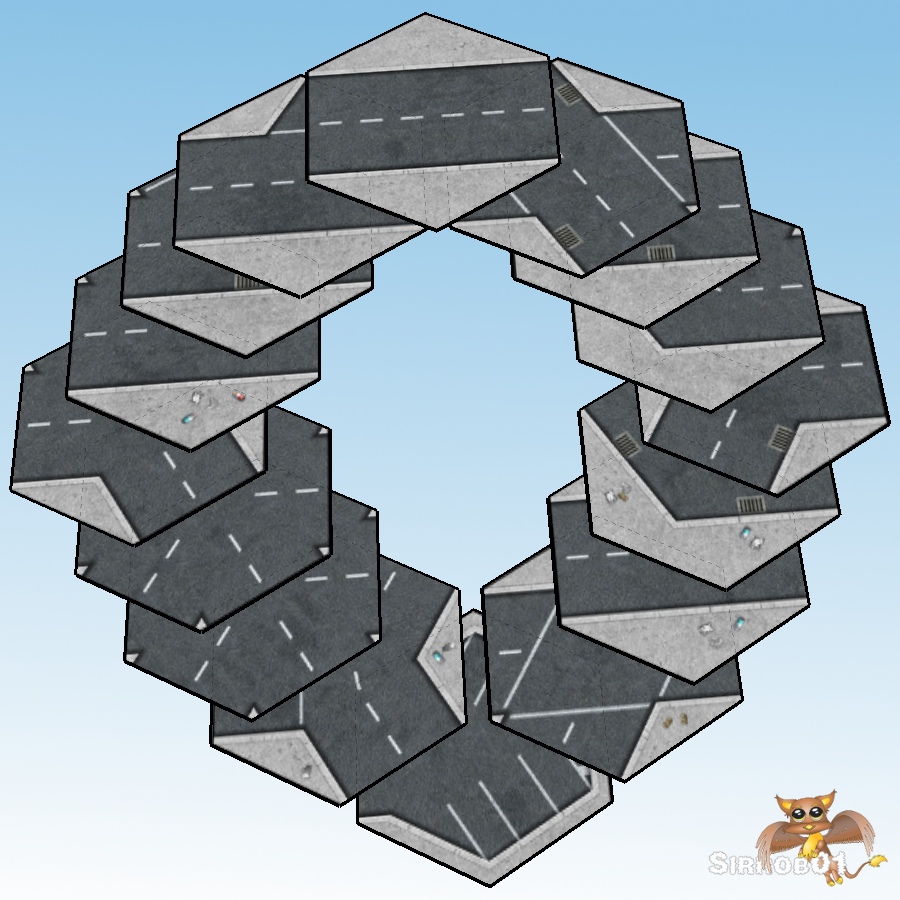
I used the Megamek Road tiles to check I had included all the various turn shapes etc, hopefully I haven’t missed any. Later on I might try and pull together a high tech road set if I can find some inspiration but for the moment I’ve got more than enough basic models to work on. No cut files as they seemed a tad redundant as you’ll need to glue the tiles to some heavier weight card and cut around them so the tiles have more heft/durability. I’d recommend box board, matt board, cereal box card as good starters to back the tiles to, or you can do what I did and mount them on 0.8mm magnetic sheet. They are much easier and quicker to cut out with scissors than using a box cutter or scalpel blade.
To prevent them slipping around you can paint the backs with a thin layer of PVA glue or if you can get hold of it that paint on rubber stuff that should help a little with keeping them in place (trusty old blu-tak will also work). If you do use magnetic sheet simply place a big piece of flat tin/steel (1.5mm thick) under your paper map and then drop the tiles on and they wont shift and as a bonus the map sheet wont move either. Links to the pdf files are below- enjoy 🙂
Roads Asphalt 32mm hex 1.25 inches
Roads Asphalt 33mm hex 1.3 inches
Roads Asphalth 38mm hex 1.5 inches
Step with care and great tact ,and remember that Life’s a Great Balancing Act. – Dr. Seuss