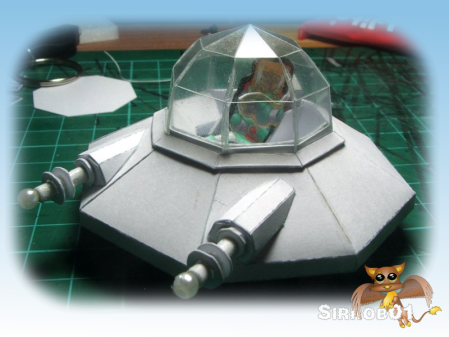
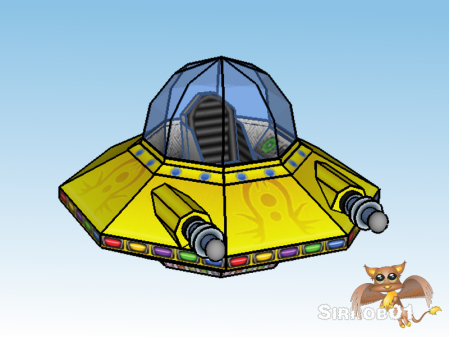
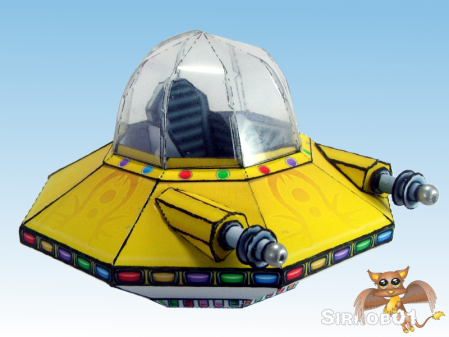
 I’ve spent the past 2-3 weeks working on finishing a papercraft UFO, primarily to use with Okumarts retro aliens. The UFO itself is reasonably small (75mm/3inches across), this does mean some of the parts are quiet difficult to build due to the size of the parts. The Guns are the most fiddly followed by the canopy and then the rest of the UFO. I will warn that this is not an easy model to assemble and you will need at least 2 hours to cut and assemble the clear canopy version, the first time you make it. I have also included a solid coloured canopy if you don’t want all the internal detail
Quick Download LinksUFO Mk1 Final – PDF (25mb)Instructions UFO Mk1 (5mb)UFO Mark One Studio (rename extension to “.studio” after download) |
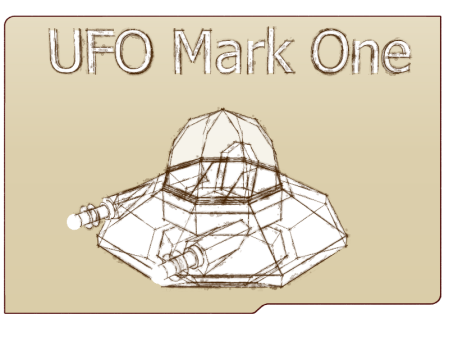
I designed the base UFO in sketchup and ran through several different designs before settling on an Octogon as the bases for the UFO.
 For each of the initial designs I also built a rough version in plain white card to see how hard the design was to build. I added some small plastic beads to the below gun ends to help give them that more retro laser/gun look similar to how Okumarts drew his weapons.
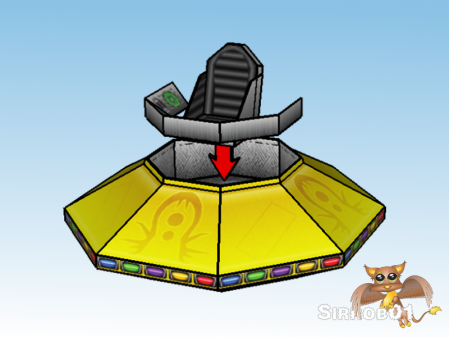
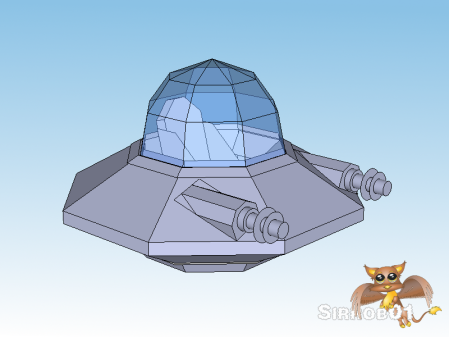
To try and make the instructions a little clearer after I’d flattened the model and textured it. I laid the texture over the top of the sketchup model and created some renders for use in the instructions. Below are some renders I made up for the instructions, you can see the rest in the instructions :). I learnt a lot about what not to do when trying to texture a model in Skechup and will be much more careful with the layout of any future models.
As far as texturing goes it was fairly standard GIMP work, I did add two base texture types a sort of brushed metal look and a more enamel paint look. I put in a large number of colour options as not all the colours worked with both texturing looks, plus I’ve learn’t to keep my texture and colour layers seperate so that adding a new colour is just a matter of duplicate existing layer and flood fill. I also split the base and cockpit out so you can have a coloured top, a metal coloured base and then if you like a different coloured metal texture for the inside of the cockpit. I added a few other customizable bits such as; different insignia, different light colours, several different engine globe colours and two different clear canopy designs (see final picture (type two) and test build (type one)) . There is a studio cut file for the model (use the new Studio Designer to open), I included both an SD and Cameo layer for cutting, the SD is the default layer so if your cutting on the new Cameo don’t forget to turn on the correct layer before printing (if anyone does use a Cameo to cut the file let me know if it works :)). I have hand cut and cut with the Silhouette SD and due to the size and scale of some parts on the UFO if you can afford the time I’d definitely recommend hand cutting as the human hand and eye are still more accurate than the SD, with the small parts on the UFO even a small mis-alignment during cutting can cause problems during assembly of the UFO.
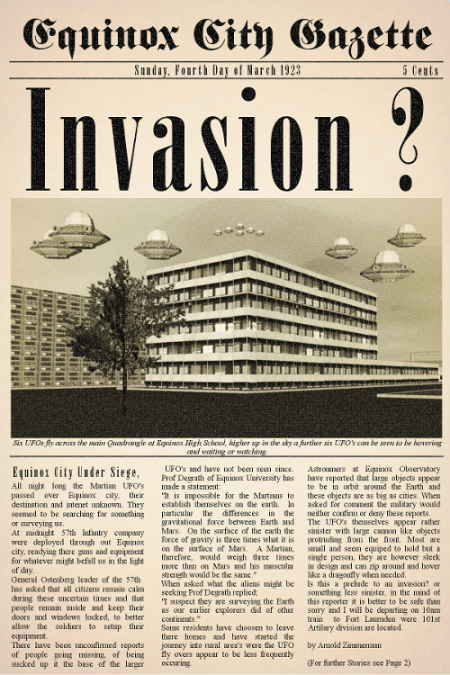
Newspaper Mockup: City Scape by Barive, Text inspired by H.G.Wells War of the Worlds
I actually had a lot of fun putting this model together, with both the dragonfly and dunebuggy I used a lot of time up learning how to best lay the files out etc which meant a bundle of re-work for both. Although still a lot of work the UFO seemed to flow much better and I knew what to do to help speed up certain steps and what to expect in regards to amount of work at each step. A rough breakdown of time is about a 1/3 on the mesh, 1/3 on texturing/layout and 1/3 on instructions.
I’m off to build a few more UFO’s so that my retro aliens can face of against the terra force marines and at least have some chance of competing against the Dunebuggy and Dragonfly. Hope you enjoy the model :).
UFO Mk1 Final – PDF (25mb)
Instructions UFO Mk1 (5mb)
UFO Mark One Studio (rename extension to “.studio” after download)
Flight stand from Dragonfly
